Installation and Sign-Up
Download the app for your platform from the Download section of this website.
The first time you start it, you’ll see a screen like this:
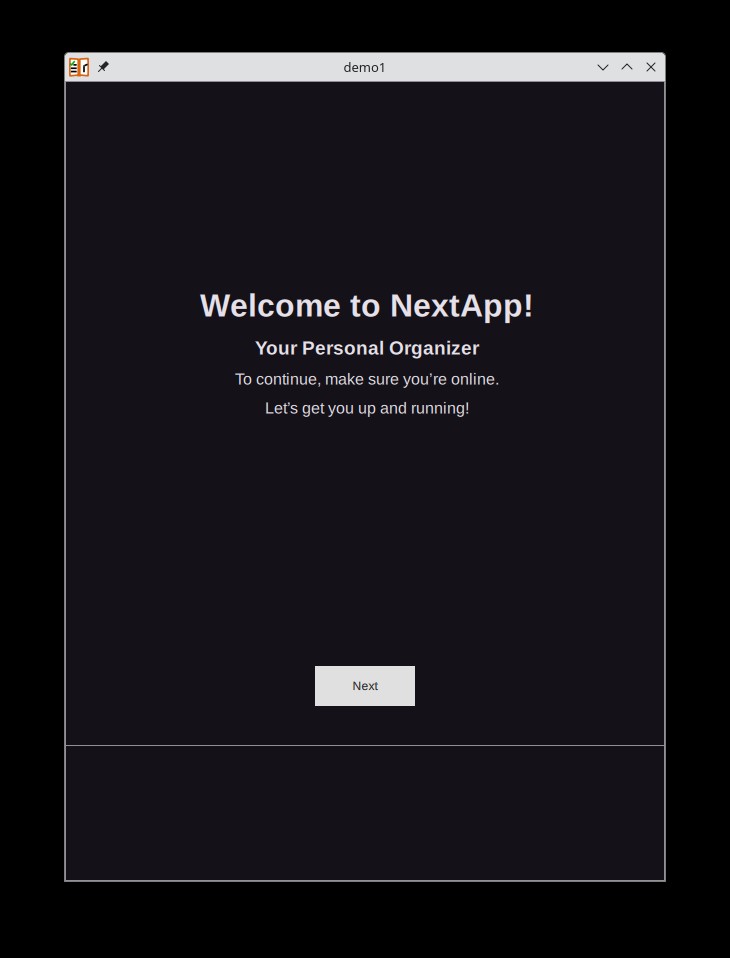
Just press Next and go through the signup pages, selecting the region closest to you.
If you use the default backend, there’s no fine print in the EULA claiming your kindly or first-born child. It’s free to try out. If you like it, you can subscribe for a modest monthly or yearly fee to use our hosted backend, or you can deploy your own server.
The app is currently in beta and 100% free, and honestly, I don't know yet what the subscription fee will be. It will not be a lot.
When you’re ready to exit the signup wizard, you’ll have the option to create lists from a template or build your own from scratch. For now, let’s assume you press Start using Nextapp without creating any lists.
Simple Use
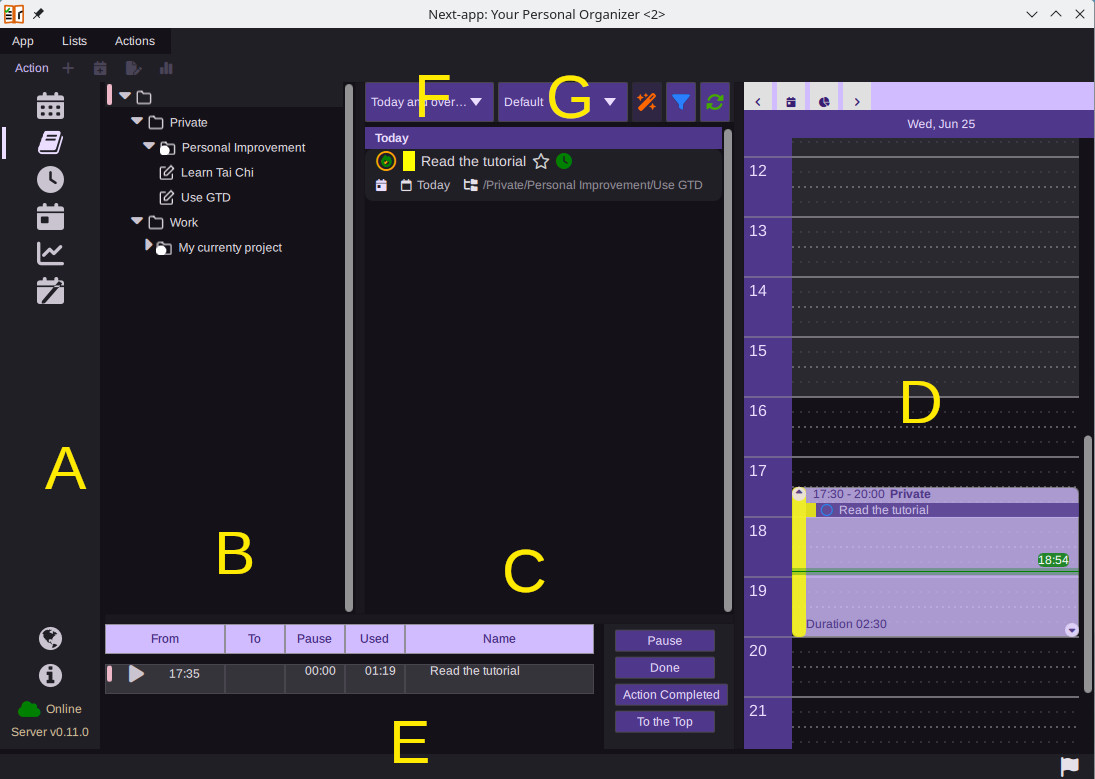
On a PC, you’ll see a screen like this:
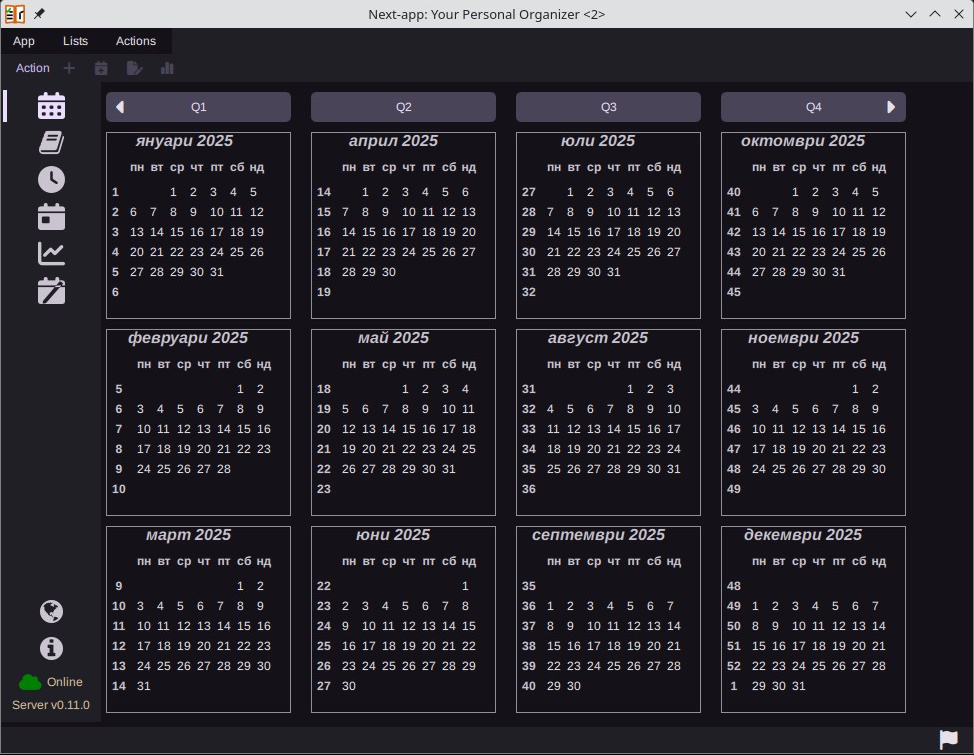
(On my PC the calendar is in cyrillic because of my PC's locale settings. On your PC it will appear using your settings).
On Android it looks like this:
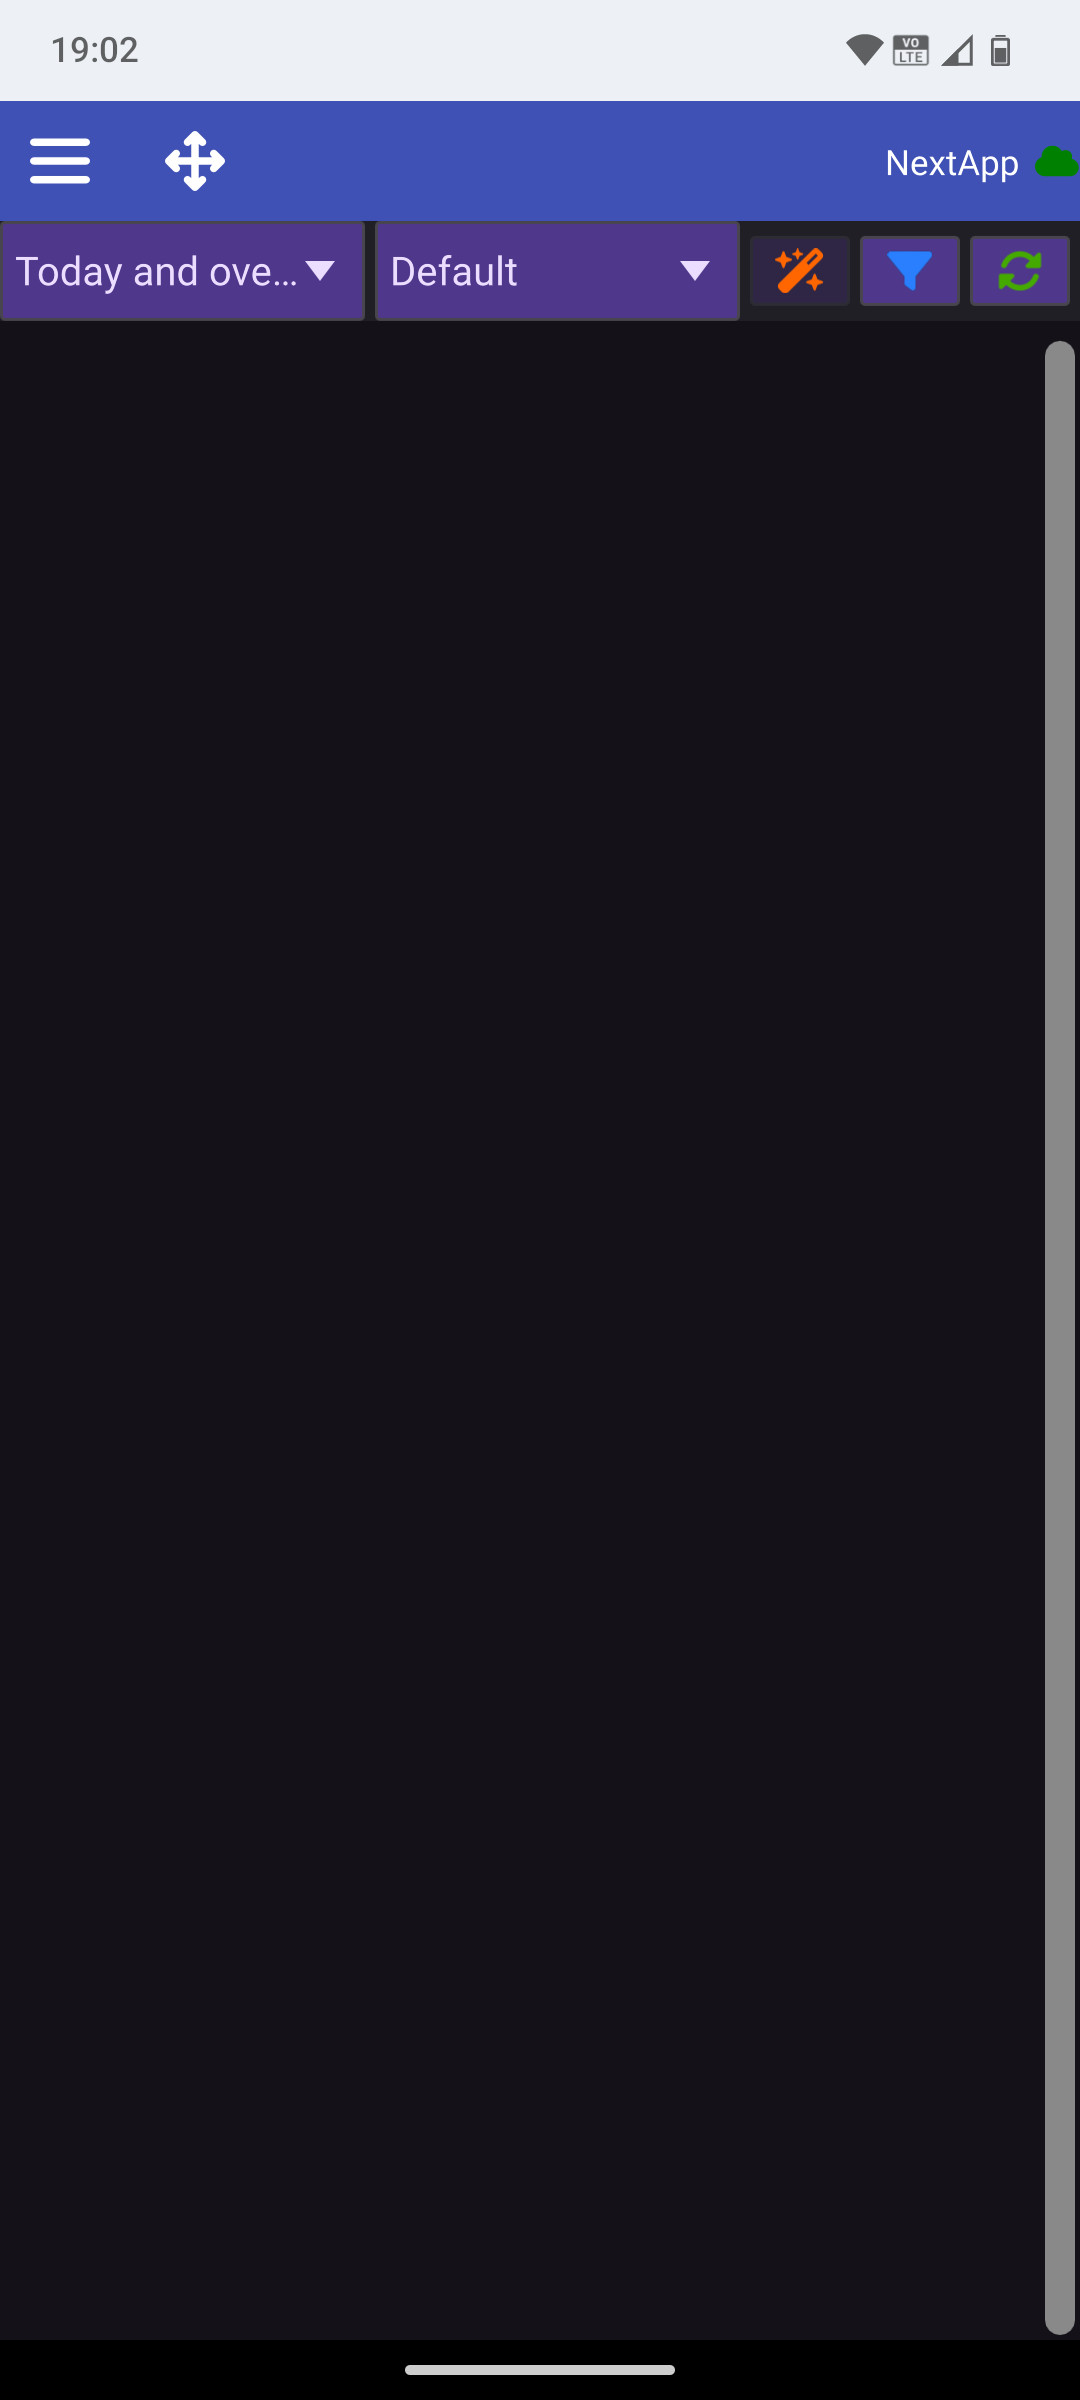
For the rest of this tutorial we’ll use the desktop version (the Android version is very similar).
- Press the book icon on the left to open the “tree of lists” and actions:
-
Use the Lists menu to add top-level items to your list. How you organize them is up to you. Do whatever feels natural. In my example I have two top-level entries: Private and Work.
-
When you create a node in the tree, you choose from five types:
- Folder
- Organization/Customer
- Person
- Project
- Task
You can edit a node later and change its type if you want. All nodes share the same properties, but each type has its own icon so you can see your structure at a glance.
-
I usually use Folder for any node that has children but isn’t a Project or Organization. I use Task for items where I’ll add actions.
Example Structure
Here’s a simple structure you might create to familiarize yourself with a new GTD app:
-
Private
-
Work
-
Personal Improvement
-
Use GTD
- Read the tutorial (action)
-
-
I also added a time-box on today’s calendar and dragged Read the tutorial into it. Then I clicked the green clock icon on that action to record how long I worked on it. Recording your actual time can help you see where your day really goes. It’s not meant for employer time-tracking, and you can always edit start/end times or pause durations later.
Main UI Components
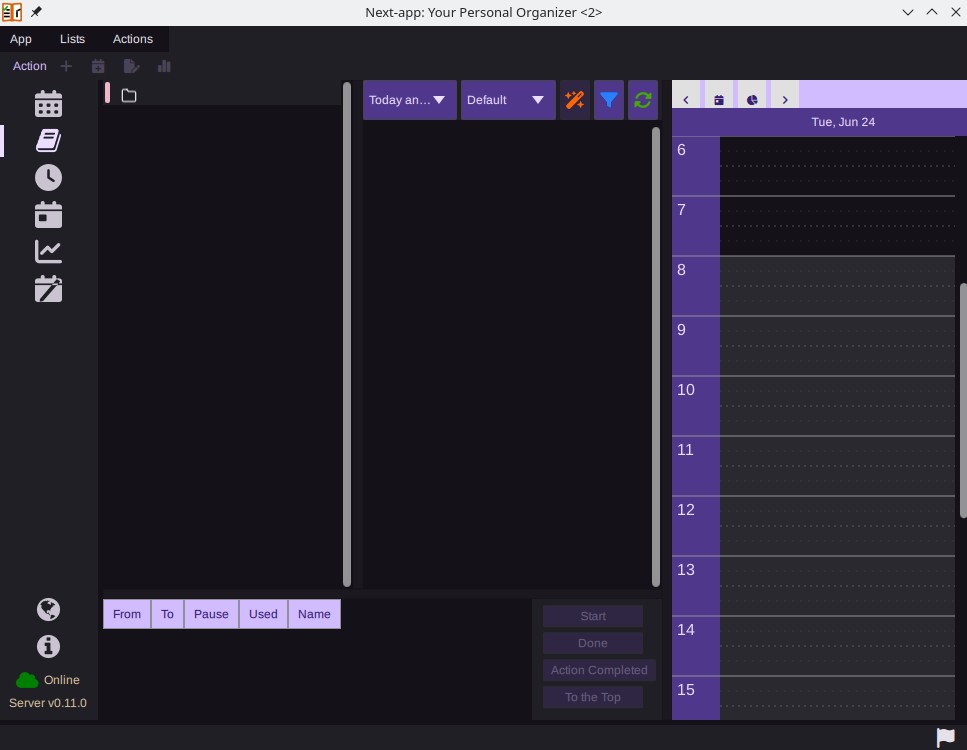
I’ve highlighted the most important parts in yellow:
A) Left navigation pane Choose your view here. We’re using the second icon (the book), which shows lists and actions.
B) Tree of lists Right-click (or long-press) a node to open its context menu; edit, delete, or drag it to a new parent to reorganize.
C) Actions list
- The left-most icon shows status and priority; click it to mark an action done.
- The star flags an action as favorite.
- The clock starts time tracking. Right-click an action to delete, edit, or view statistics.
D) Today’s calendar View any day, though you’ll normally see today. Use it to create time blocks for your actions. The app plays sounds at the start and end (and a bit before). I begin each day by reviewing today’s and this week’s actions, then allocating blocks. Plans always change, but you can adjust easily. You create a time block by clicking and keeping the left mouse button down at the start-time, moving the mouse to the end-time and then releasing the mouse button.
E) Work-sessions list Shows your active time-tracking sessions (only one can run at a time). Completing a session or clicking its status icon removes it from this list and marks the action done.
F) Action filter Choose which actions appear here, by time (e.g. Today, This week), by Favorites, or by the selected list (and its children).
G) Sorting There are several options. I usually use Default to keep the overview during the day, and Category, Name when I'm planning.
That’s all for this quick start! Just enough to get you going without overwhelming you.